Microsoft Teams is a web-based collaboration tool this is available via your LSUA Office 365 account. Teams offers the ability to chat with individuals or groups. Teams also has video conferencing abilities with recordings so you can download and post the recordings to your Moodle site if needed.
1. To access Microsoft Teams, first log into the LSUA Office 365 Portal at https://www.office.com/
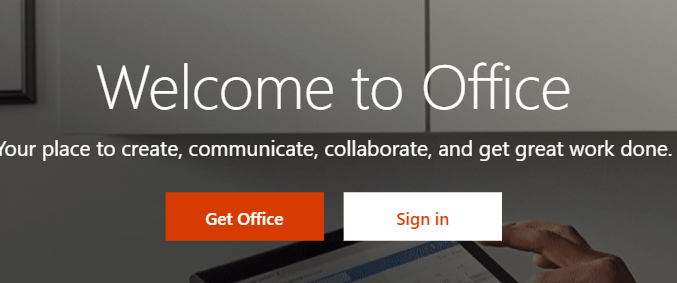
2. Next, click the white Sign in button.
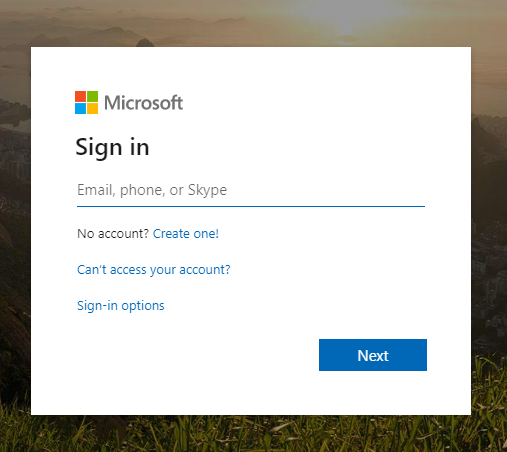
2. Enter your LSUA Email address and click Next.
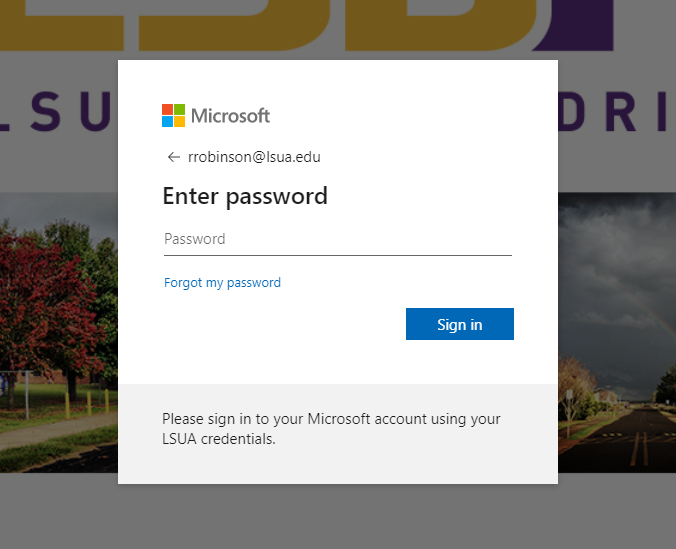
3. On the next page, enter your LSUA Password and click Sign in.
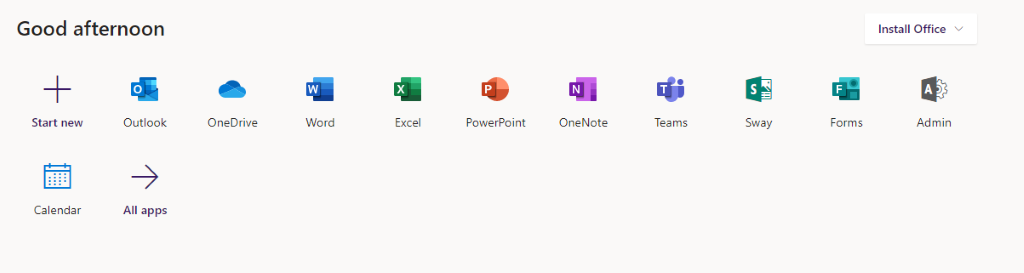
4. Once you have successfully logged into Office 365, you will land on a page that is like the image below. This is your Office 365 dashboard.
Click Teams from the list provided. If you do not see Teams listed on your dashboard, click the dotted square icon in the upper left of your window, select All Apps, and click Teams.
5. Once you click Teams, the web application will open.
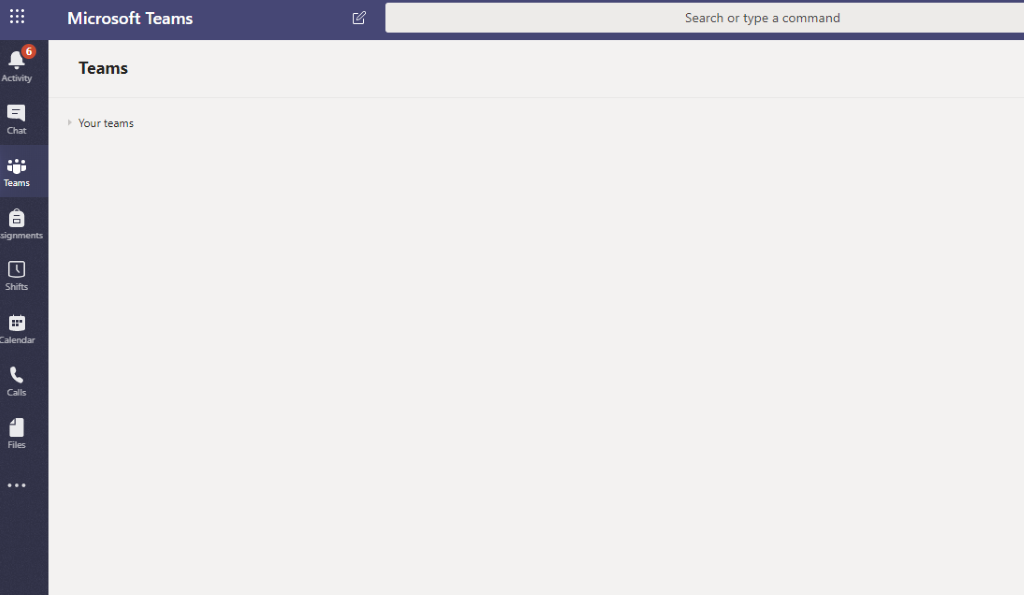
6. Teams uses your Outlook calendar to help manage meetings and set appointments. Let's start by creating a meeting.
Click on the Calendar app on the left-hand side. It is close to the bottom of the list.
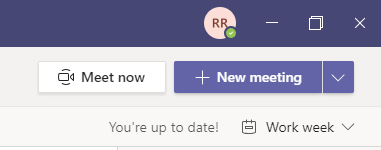
Once Calendar opens, the Work Week View (Monday through Friday) will display. To schedule a new meeting, click the New Meeting button in the top right-hand corner.

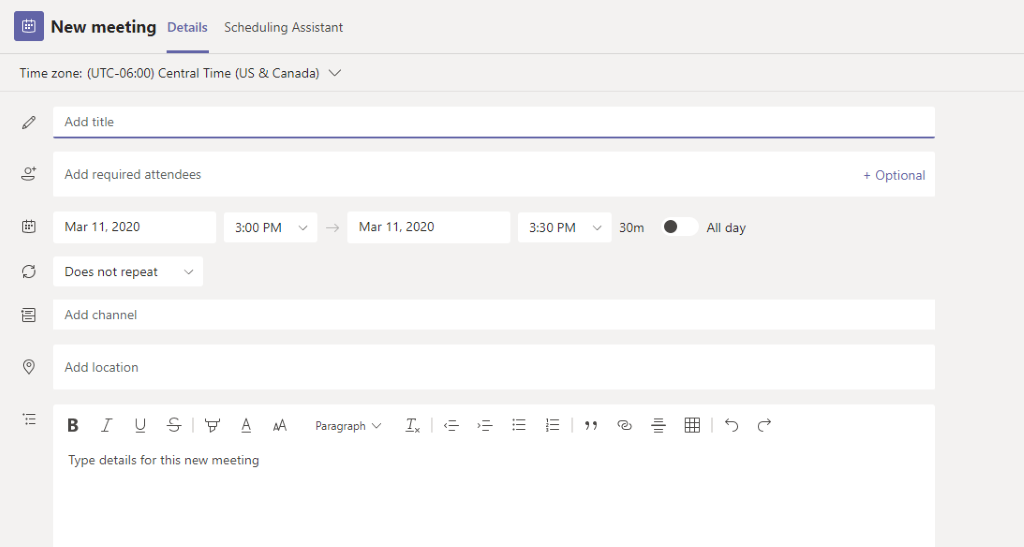
7. A window will display to input your new meeting details. Here you will simply fill in the information like how you would if you were creating a calendar invite inside Outlook. When you're finish, click Send.
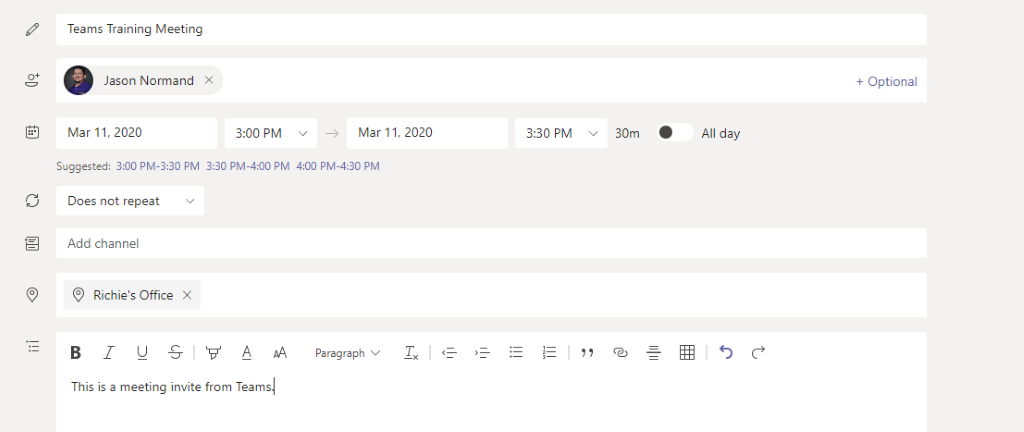
8. Once you have sent your invite, you can open the meeting to see who you sent it to and to copy the meeting information to share.
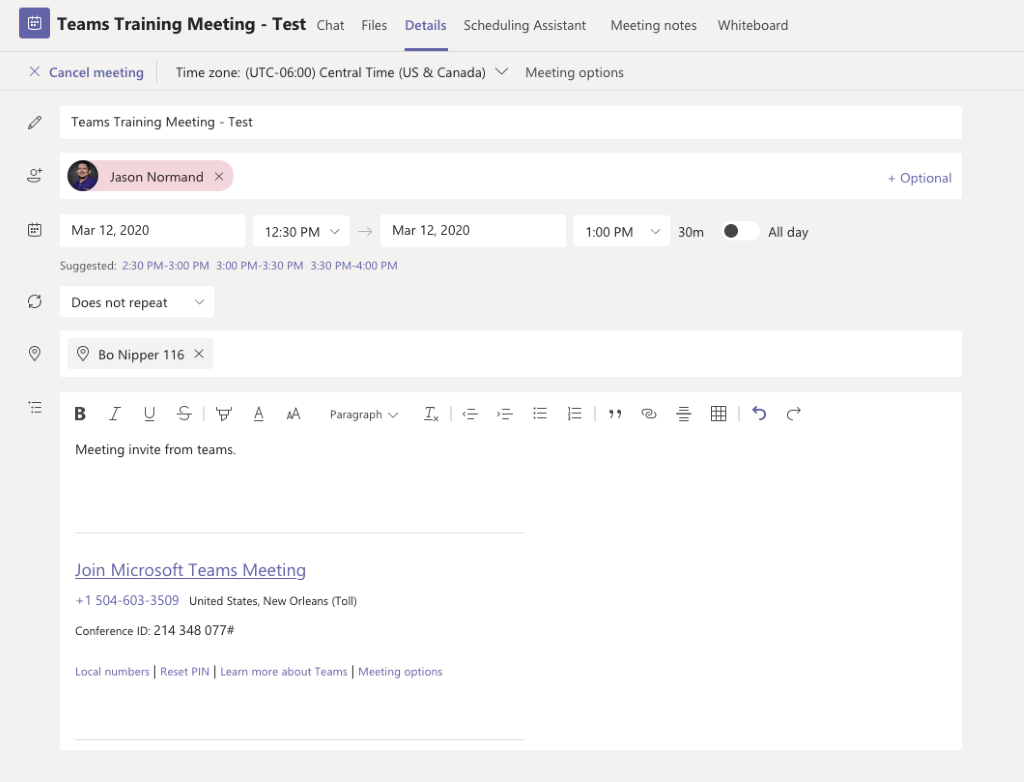
9. You can copy all the “Join Microsoft Teams Meeting” information and post it to Moodle so students can access the meeting from anywhere they have an internet connection. Students will need to login with their LSUA email address and password.
Join Microsoft Teams Meeting
+1 504-603-3509 United States, New Orleans (Toll)
Conference ID: 687 933 026#
Students can also call into the meeting if they do not wish to do a video conference.
Inside your Team Meeting:
1. Once you have scheduled the meeting you can join the meeting at any time. Just click Join from the calendar item.

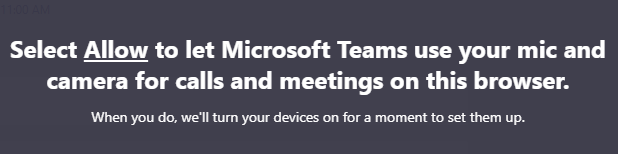
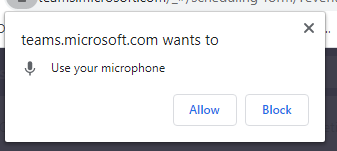
2. If you are prompted with the following, click Allow on the pop-up box that appears.
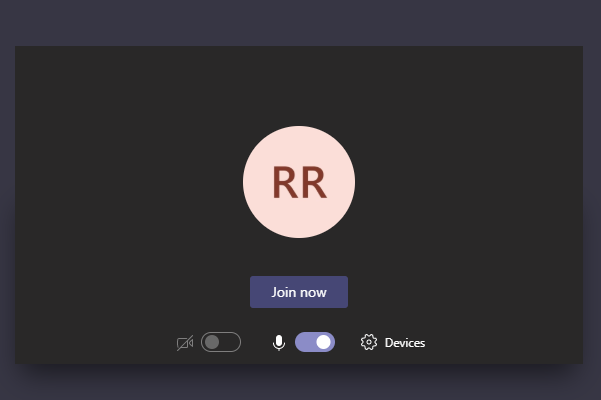
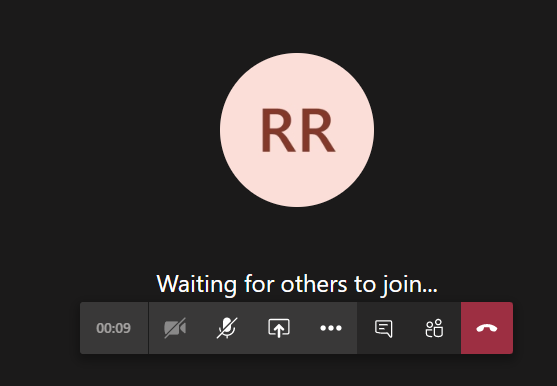
3. You will be presented with a join screen. Here you can mute your camera and microphone until you are ready to present.
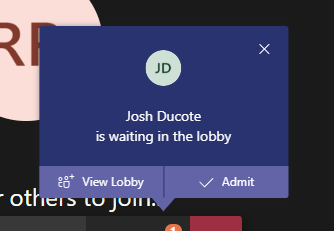
4. When others try to join the meeting you will see the following prompt to Admit.
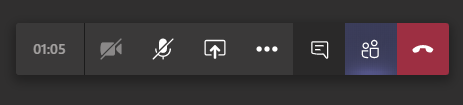
5. The Presenter Bar at the bottom of the screen will allow you to see how long the meeting has been running and your camera and audio control buttons.
In addition, their's the Share your Screen Button, the more action button, the conversation button, the show/hide participants button, and the end meeting button.
When you click the Share button the bottom of your screen, it will auto load with some items:
- Whiteboard - Where you can freehand draw
- PowerPoints - From your OneDrive
- Desktop/Window - Where you share your Desktop and Window view

If you click the Desktop/Window button you will be presented with the following window.
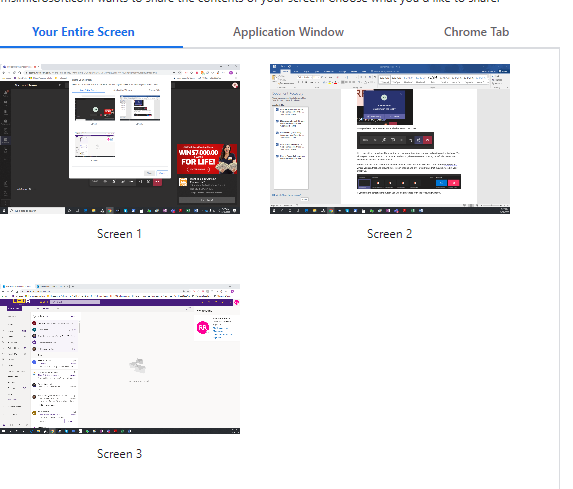
You can either choose a specific monitor, application or tab in your web browser. Depending on your choice will limit what the participants are able to see.
If you choose your whole monitor, everyone will be able to see everything you are doing.
If you choose an application, everyone will see everything you do in that application. A tab in your browser will show just that tab.
6. You do not need to choose screen share if you are just lecturing. Simply turn on your camera and mic and start talking.
If you click the more options button on the Presenter Bar, you will have the following options.
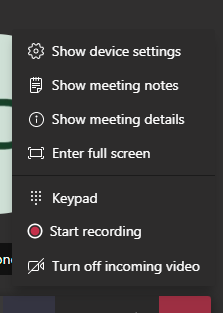
You can turn off all incoming video, that way you do not see the video streams of all the people that are joining the meeting.
You can record your meeting for future playback. If you needed a number pad you can access one here as well. You should not need the top four options.
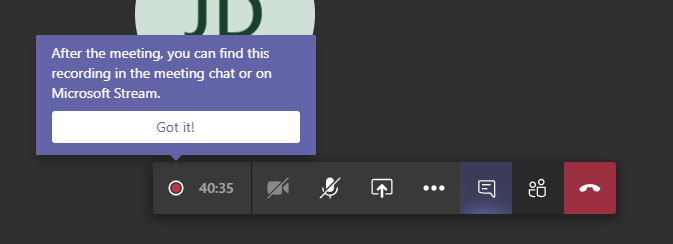
When you click record on the Presenter Bar, you will see the following message. Recordings can be accessed for downloading from the chat section in Teams.
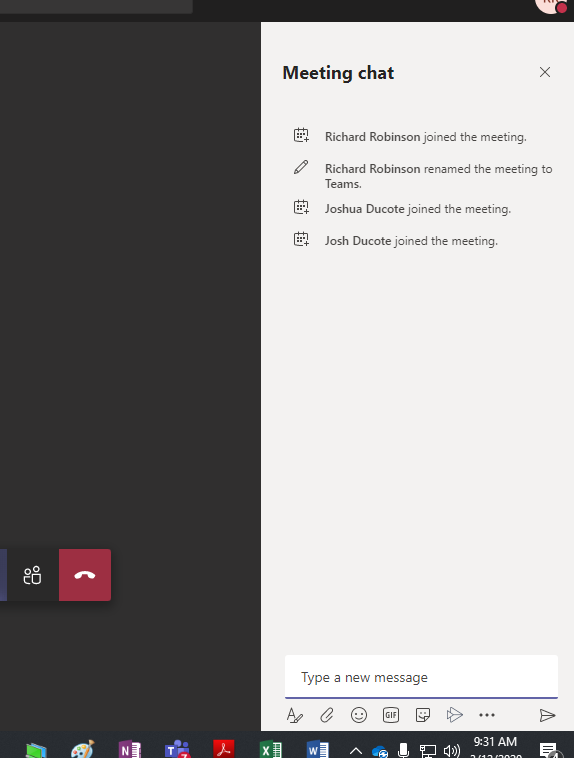
When you click on the chat button you will see a list of everyone who has joined/left or typed a message.
When you are finished with the meeting simply press the red hang up button to end the meeting.
If you wish to chat with a specific person that is also can option: Simply click the little notepad icon next to search bar:


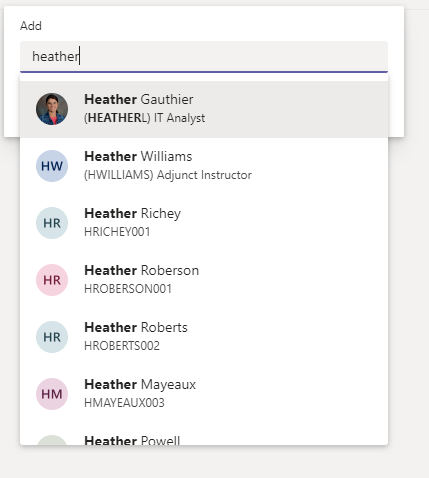
And start typing their name;
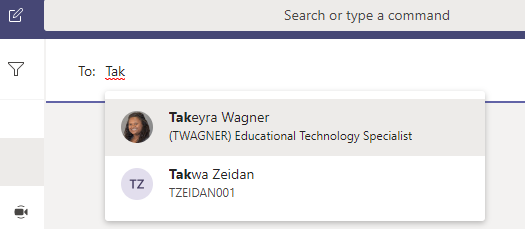
Select the person you want and then send them a message

If the user is offline or unavailable, they will be sent an email letting them know they have a message in Teams.
If you needed to have a chat with more than person. Add the first person and then click the button on the far right next to phone button